The construction and installation of electrical systems for all projects, it is necessary to follow 1 principle. To ensure the aesthetics for all your projects. During construction, it is necessary to avoid electric leakage, for the safety of users. So what exactly is the process? What needs to be done? Let’s find out with P69 Company under the article below.
What is a building electrical system?
Arranging the installation of the electrical system to suit the needs of use as well as meeting the electrical system to suit the needs of use as well as meeting the technical and safety standards for the system, the installation of the electrical system plays a very necessary role to put the electrical system into use effectively and safety. Electrical system includes
System of electricity:
- Substations – Capacitors for capacity
- ATS – Generator – UPS
- TrunKing – Tray cable – Ladder cable
- Electrodynamic cabinet – Control
- Electrical wire – CB – Contactor
- Water pump – Water pipe
- Lighting systems
- Anti-lightning system
System of light electricity:
- Building telecommunications infrastructure system
- Computer network cable system, telephone cable, telephone switchboard
- Central TV system CATV
- CCTV security camera system
- Door phone system – Open and close by magnetic card
- Public broadcasting system
- Building management system
Construction and installation of electrical systems for all projects.
In order for the process of construction and electrical installation to take place safety, on schedule and to ensure the overall quality of the entire project, it is necessary to go through 7 steps as follows:
1. Installation of wall-mounted electrical system

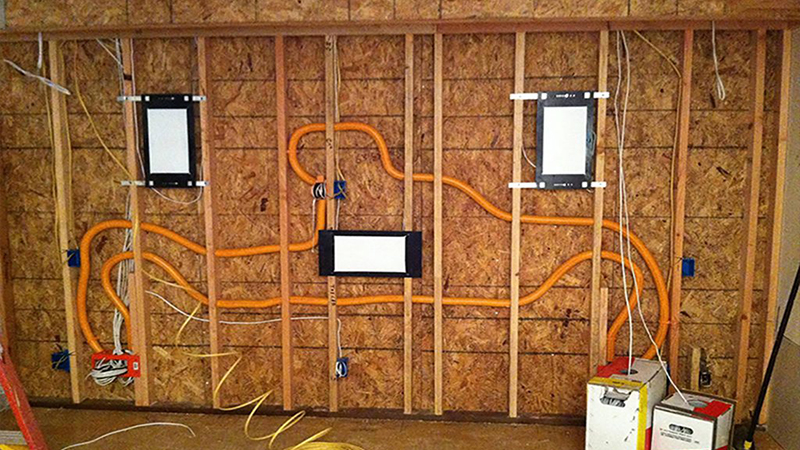
A wall-mounted electrical system is simply understood as a way of designing power lines to go underground, sunning inside walls or underground, This design helps to prevent electrical wires from being exposed during construction, causing danger as well as entanglement for daily life in the family
When installing ceiling-mounted electrical systems. You need to choose the most suitable location for the height, length and width of the electrical system. And using the cutter, mark the designated locations. Then proceed to design the electrical system, and close the wall grid according to those marked positions.
Construction steps of wall electrical system
- Step 1: The first thing is to determine the location of electrical equipment in the house, in the building.
- Step 2: Make a diagram of the wiring system of the conduit
- Step 3: Create a wall groove to go the pipe
- Step 4: Take the electrical conduit
- Step 5: Thread the power cord inside the tube
- Step 6: Done
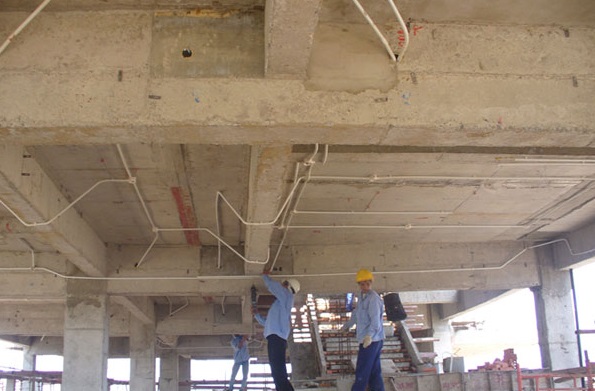
2. Installing conduit system for concrete floor
After constructing the wall electrical system, you need to have intermediate boxes. Paint can be used to mark the positions of the intermediate box boxes on the formwork floor when the construction unit completes the construction of the floor formwork.
After the floor has been installed with a layer of steel, proceed to place the box boxes according to the intended position, use electrical pipes to connect the boxes, forming a conduit for the power cord for the equipment.

After that, the pipes and boxes are accepted, meeting the requirements for pouring concrete on the floor. When parking concrete floors, there must be someone on duty to deal with problems such as: flattening pipes, broken pipe, loss of connection,…
3. Installation of cable tray system
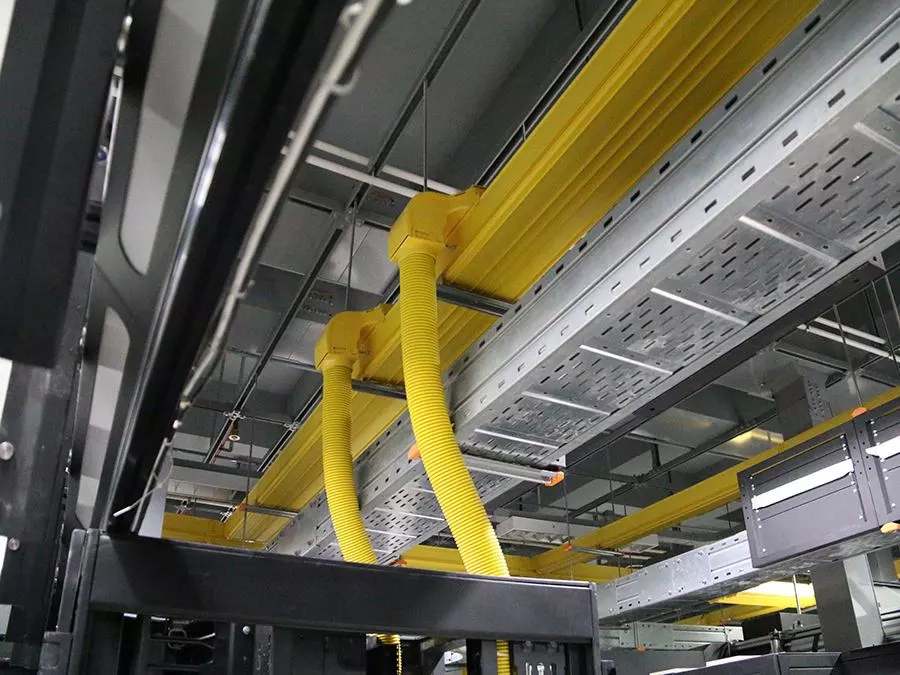
Cable tray is device used to conduct electrical and network cables. You also need to position the elevation and determine the mounting locations for the cable tray is down to the cabinet, use it to shrink and shrink, not manually cut the trough to join at the intersection of the trough system, but use accessories( numb, construction, cross, etc) factory made to avoid scratching the power cable in the cable tray.

Cable trays are grounded with PVC coated copper cables or coppers bars forming a safe grounding system for the cable route. Fitting the chute and finishing editing.
4. Installation of electrical wiring
After installing the cable tray system, begin to conduct electrical conduit and wire pulling. When pulling the wire, first of all, it is necessary to use a nylon wire, first to thread it into the electrical conduit. And the wires need to be marked by color and phase
5. Check wiring and electrical installation
Checking the wire for continuity , short-circuiting in the process of pulling the wire, insulation between conductors, leakage of current. If the wire is tested, for safety, proceed with the installation of the device.
After the installation of electrical equipment is completed, check the trial operation, use a clamp ampere to determine the current of each phase, then adjust the phase current to ensure phase balance in the system. Electrical cabinets are labeled, functional diagrams of each device in the cabinet.
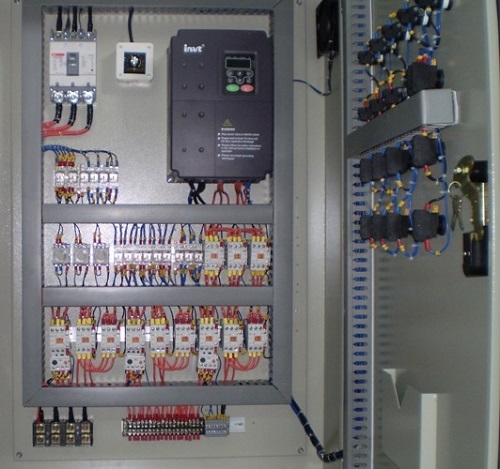
6. Electrical cabinet design
The electrical cabinet is a place to store electrical protection devices, so that when something goes wrong, you can check and handle it. Always make sure that the enclosure of the electrical cabinet has safe insulation. And finally, connect this electrical cabinet to your home’s electrical system with the input and output cables of the cabinet.

7. Inspection and acceptance
To check, we can use an insulation resistance meter, check the continuity of all conductors, ensure the safety and aesthetics of the system. This is the final step in the civil electrical construction process. It doesn’t sound important, because everything has been done in the previous step. But don’t be subjective, check it out one more time. Just for the safety of you and your family.
Contact us today for a free consultation and answer at:
Contact information P69 Investment Joint Stock Company
Address: No. 6/165C Xuan Thuy, Cau Giay District, Hanoi
Website: https://p69.com.vn/
Hotline : 02422121212 and 0965937799
Email: kd@cokhip69.com.vn
Facebook: https://www.facebook.com/p69nhathaucodien
LinkedIn: https://www.linkedin.com/in/congtyp69/
Youtube : https://www.youtube.com/channel/UCOUwCnE5iGj8iqe_ZIUM7oA

