Proper installation of ductwork is a prerequisite for the ductwork system to function properly, safely and long-term. Therefore, this operation is extremely important and must be understood. If you are wondering about how to install a spiral duct, don’t ignore the article of P69 Company !
Features of the spiral air duct
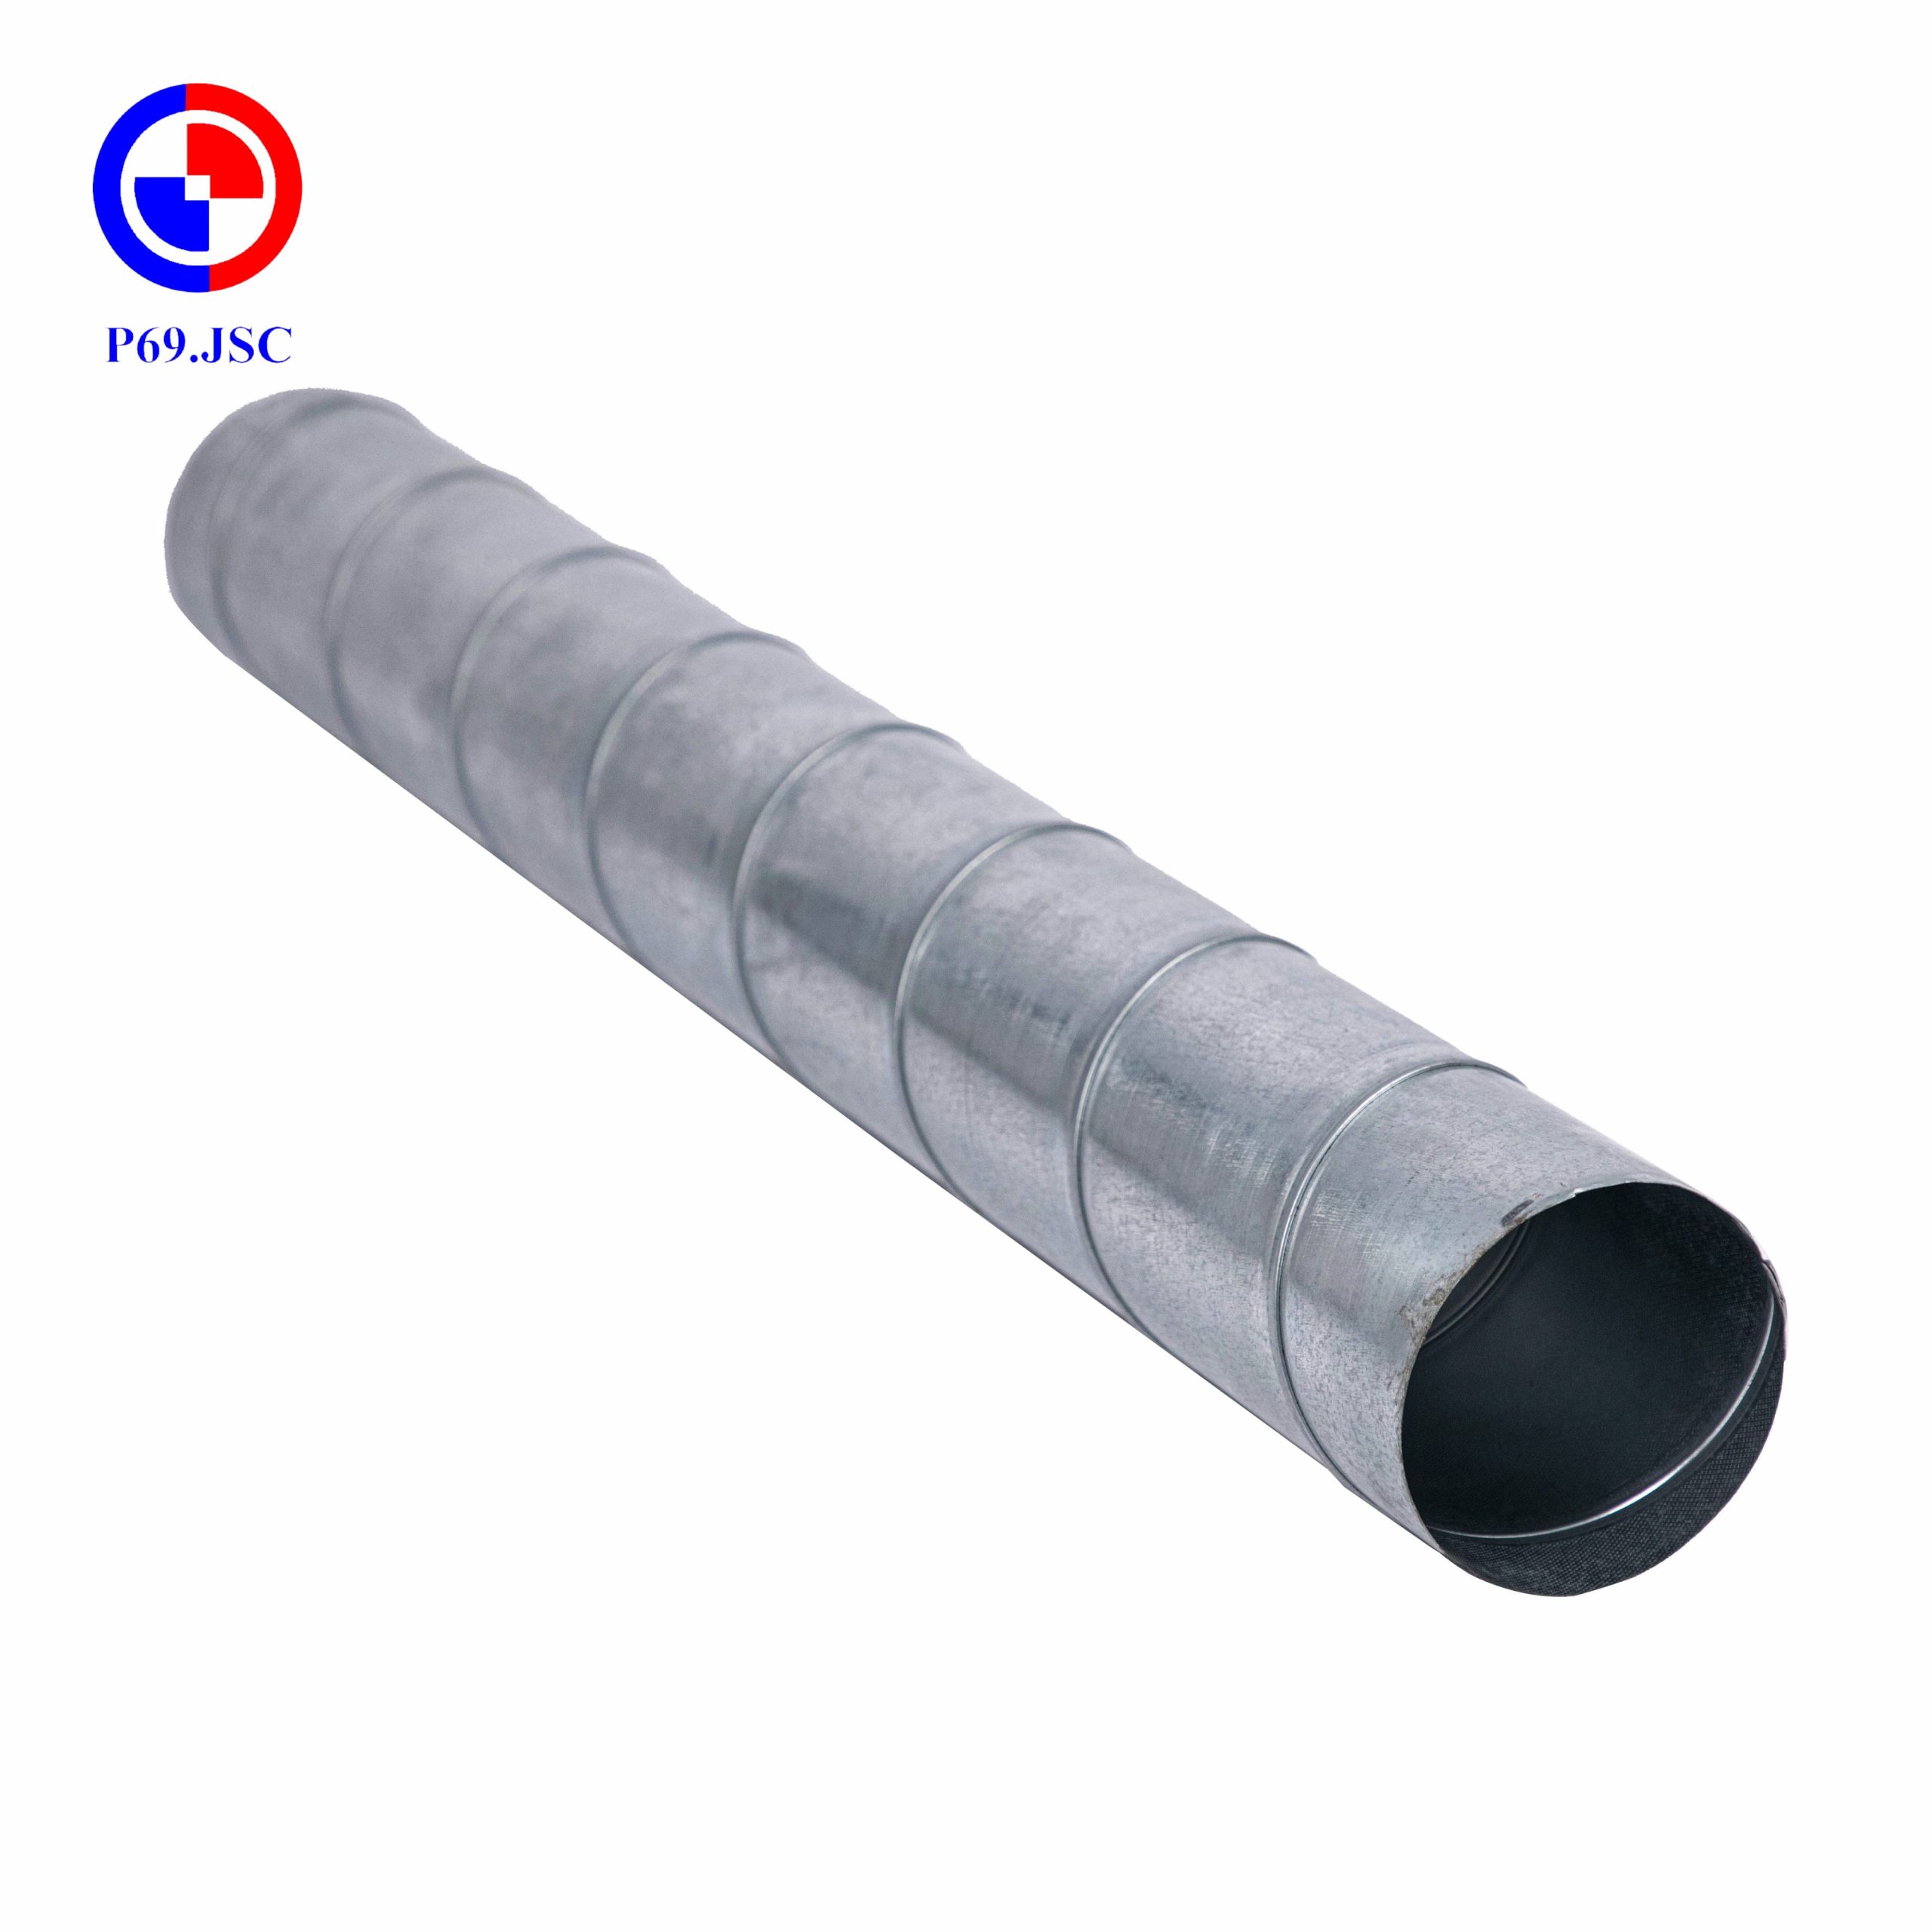
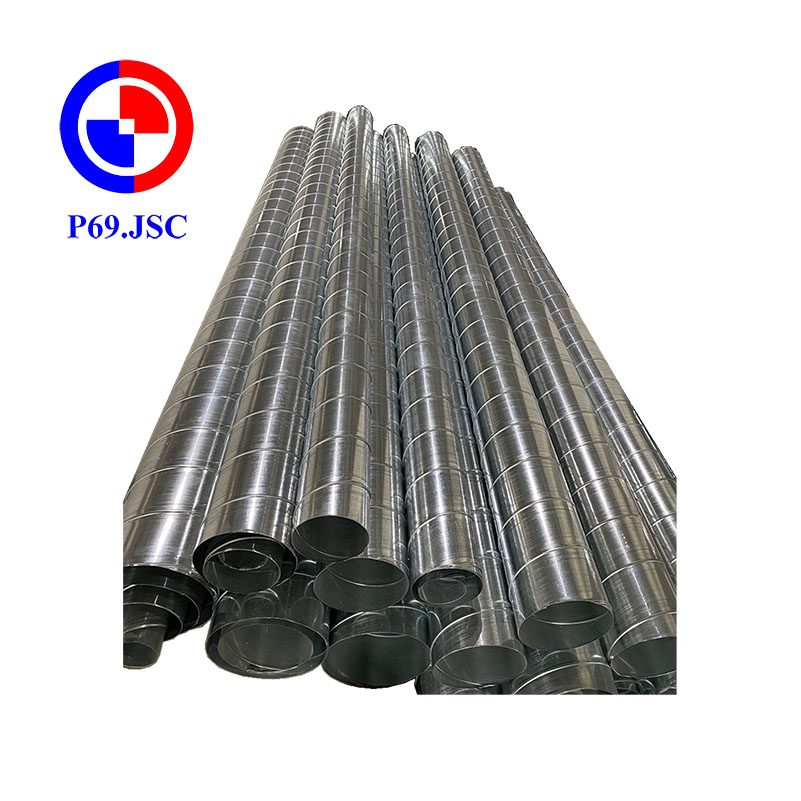
Spiral air duct has a round tube shape. Bring softness and bring high aesthetic value. The spiral air duct was born later, undergoing many practical tests, so it is very safe in design and use.
When installing the spiral duct. We can easily change the size to suit the requirements of each project. Most of the round air ducts available on the market have different sizes, so they can meet all customer needs.
Compared with square ducts, the installation of round ducts saves a lot of costs for works during construction. Moreover, the round air duct has low rust detection and does not collect dust, so it saves cleaning costs for homeowners during use
Round air ducts are quite simple and easy to install, because they use quick joints at each joint.
Note when installing the spiral duct
The process of installing a spiral duct is not difficult, but during the installation process, people need to pay attention to the installation process, people need to pay attention to the following issues:
– Consider the installation location, please install it at a position higher than the head, where are few people passing to create an efficient working space.
– Performed by a team of experienced craftsmen.
– Select the appropriate ventilation system according to the climate and temperature conditions of installation
– Need to plan in detail and specific form site design, system type selection or installation cost.
Standard air duct installation process
In order to properly install the ductwork, the following procedure should be strictly followed:
1. Transporting and lifting ducts
After the ducts are transported to the installation site, they are supported by specialized lifting the ducts to the required position.
2. Anti-corrosion
To ensure the correct installation of ductwork, it is necessary to use anti-corrosion paint for ductwork.
– Wipe off the dust or rust on the surface of the ductwork and keep the pipe dry before applying the primer .
– Must paint in dry environment, thin even paint film, say no to paint residue uneven, lumpy, wrinkled, and impurities .
– The racks and supports must also be painted with anti-corrosion paint like the ductwork. Note that it is necessary to repaint the last layer when installing the complete system.

3. Duct insulation
To insulation the ductwork, two basic methods are used insulation panels and insulation wool, specifically as follows:
– Insulation sheet made of polymeric material with a silver coating
After cleaning the duct surface, apply glue outside, cut and stick the insulation cut and stick the insulation sheet on the duct. After 10 to 12 hours, the glue will dry again. Note, all seams and joints must be insulated to ensure safety.
– Fiberglass insulation wool with silver coating:
Similar to the above, after cleaning the duct, proceed to apply glue, stick nails on the duct. The distance between the nails is 250~300mm, the time to wait for the glue to dry is 10~12hours. Wool is cut and glued, stapled to the tube and covered with an additional layer of tape tp seal the joint
4. Connection the duct to the duct
When performing this operation, do not place electrical wires, cables and pipes with harmful gases, especially flammable gas or liquid pipes in side the duct. This is an important principle in how to properly install the ductwork
Note, removable joints should not be placed in floors and walls. Brackets, supports must not be directly attached to the duct flange. Air ducts through walls and ceilings must have outer cage bushings for protection. There must be a suitable fixed pint to prevent vibration and shaking of the suspended ductwork. Mental parts and fittings for ductwork shall have an anti-corrosion coating.
Common connection ways are: TDC and TDF flanges, C brace, sleeve.

5. Connecting air duct with flexible connection
When connecting air ducts with flexible connections care should be taken to use flexible connections of sufficient length, should not be stretched or left too loose, which will cause blockage of the ducts.
6. Connect the flexible duct to the air outlet box
When connecting the flexibles duct to the air intake box, use a 10mmx0.6mm brace nut or twist the wire with good torsion resistance and a length suitable for the circumference of the flexible duct. Pay attention to tighten the brace nut or twist the wire to the round wall mounted on the duct box.
7. Connecting ducts to other accessories
Properly installing a standard ductwork involves several meticulous steps. In addition to connecting the ducts together, it is necessary to connect the ducts with other accessories to create a complete duct system. Accessories that need to be connected to the ductwork include:
– Connect the air duct with flow control valve, fire prevention valve, one-way valve
– Connection air ducts to shrinking and reducing fittings (similar to connecting ducts to ducts)
8. Install the louver and the plenum box with the wall:
The louver is captured into the opening located on the outdoor side of the wall
The air box is caught in the opening located on the inside of the wall
9. Install the louvers and the vent box with the ceiling and wall
The air inlet is linked to the air outlet box as a set and is sealed with silicone. The vent can be hung on the ceiling or the vent can be placed on the ceiling or wall
Contact information P69 – M&E Contractor
Address: No. 6/165C Xuan Thuy, Cau Giay District, Hanoi
Website: https://p69.com.vn/
Hotline : 02422121212 – 0965937799
Email: kd@cokhip69.com.vn
Facebook: https://www.facebook.com/p69nhathaucodien
LinkedIn: https://www.linkedin.com/in/congtyp69/
Youtube : https://www.youtube.com/channel/UCOUwCnE5iGj8iqe_ZIUM7oA

