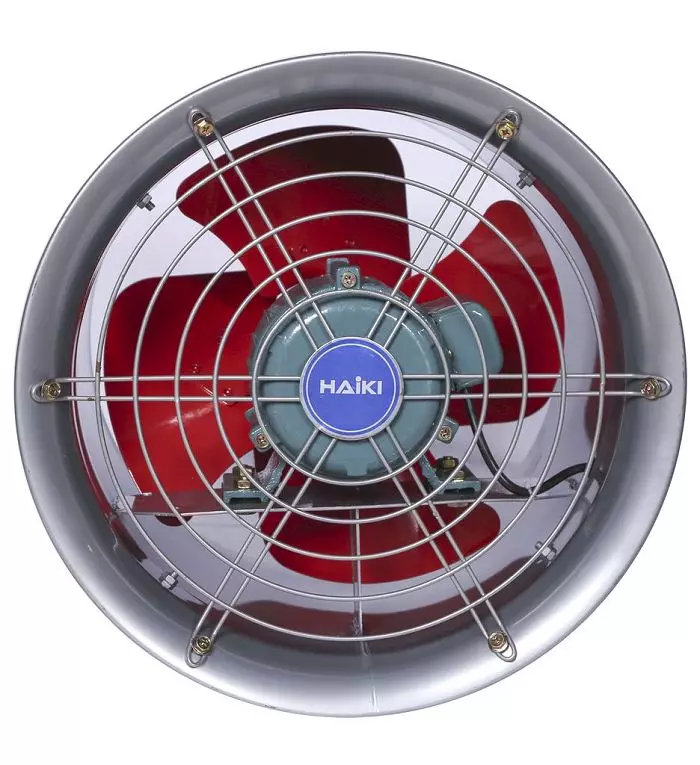
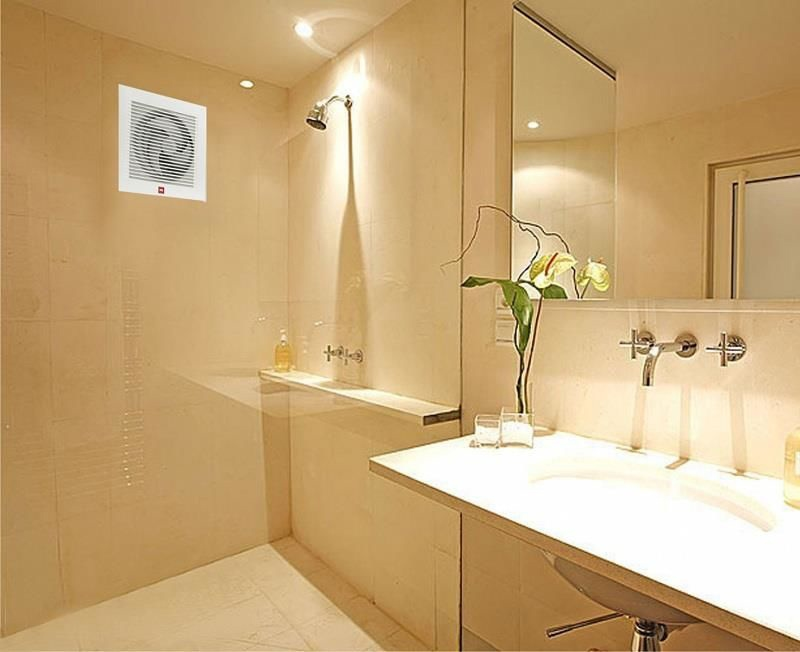
Installing a wall-mounted exhaust fan is one of the essentials. Helps eliminate, prevent the growth of mold and bacterial. Protect everyone’s heath, prevent dangerous diseases caused. In this article, P69 Company shares with you how to install the most basic and fastest ventilation fan!
The easiest steps to install a wall-mounted exhaust fan
The following are the simplest steps to install a ventilation fan, ensuring fresh air in your own home:
Step 1: Determine the volume of the room where the wall-mounted exhaust fan is installed
Depending on the space, you can choose the appropriate type of exhaust fan. You should pay attention to the noise level of the device to be able to choose the noise level of the ventilation fan for the room to be installed
Step 2: Determine the location to install the wall-mounted exhaust fan
Once you have selected and determined the location to install the wall-mounted exhaust fan, you should note that its must be installed at the central points of the space to help optimize ventilation.
However, if your room space is large, you need to install more than one similar exhaust fan.

Step 3: Prepare the necessary tools for installation
Before installation, you need to prepare fully and carefully about the ventilation fan equipment.
Necessary tools such as: screwdrivers, pliers, drills, screws, wire beads, goggles and makes.
Step 4: Install the wall-mounted exhaust fan
You should drill a line to fix the installation position of the exhaust fan. When drilling, you should use a small drill to drill marks on the wall.
Step 5: Drill a hole in the wall
When cutting holes in the wall you need to watch for the cut parts of the ceiling that fall to the floor after cutting because it can pull the distribution of the plaster.
When cutting holes in the wall, remember to wear glasses for the best protection and a mask while sawing through plaster.
Step 6: Place the fan in the right position to install
You should install the wall-mounted exhaust fan at the correct installation position to the appropriate outlet port for use.
Insert a cable connector through the direct-release hole on the side of the housing.
You need to note the center of the exhaust fan through the ceiling hole and lower it, making sure any connection points are oriented correctly.

Step 7: Fasten the fan in a fixed position
If you’re installing a bathroom exhaust fan that needs to be positioned correctly, widen each metal frame so it can snap into place.
Take the length of the flexible duct and attach it to the elbow that protrudes form the fan house. You need to tighten the screws on the connections
You must be able to use a three-wire cable if your new exhaust fan includes light .
Step 8: Find the right exit point for the pipeline
You can run holes through the hips or roof for the most convenience, keeping the ducts as straight as possible.
Step 9: Attach the vent cover
Mounting of the vent cap will vary depending on whether the exit points is on the roof or side wall.
If your exit point is on the sidewall then you should choose a point between the two wall step studs and have an internal reference measurement to ensure the flap stays in place.
Step 10: Wiring connection at the housing unit.
Depending on the installation location, you can leave the connection wire from the roof floor or from the roof room. Note the length for installation and read the manufacturer’s instructions for the most convenient use.
Step 11: Attach the grille
The final step is mounting the grille. Simply plug the fan motor into an electrical outlet and secure it with the screws.
Contact information P69 – M&E Contractor
Address: No. 6/165C Xuan Thuy, Cau Giay District, Hanoi
Website: https://p69.com.vn/
Hotline : 02422121212 – 0965937799
Email: kd@cokhip69.com.vn
Facebook: https://www.facebook.com/p69nhathaucodien
LinkedIn: https://www.linkedin.com/in/congtyp69/
Youtube : https://www.youtube.com/channel/UCOUwCnE5iGj8iqe_ZIUM7oA

