When installing sprinkler heads , care must be taken and the instructions below to be followed to ensure that sprinklers are not damaged and function properly. Procedure for inspection and maintenance of Sprinkler nozzles is also one of the decisive factors for the success of the fire fighting system using this device that many installation units are always aiming for. So, how to install and maintain this Sprinkler head, let’s find out!
Learn more about Sprinkler . nozzles
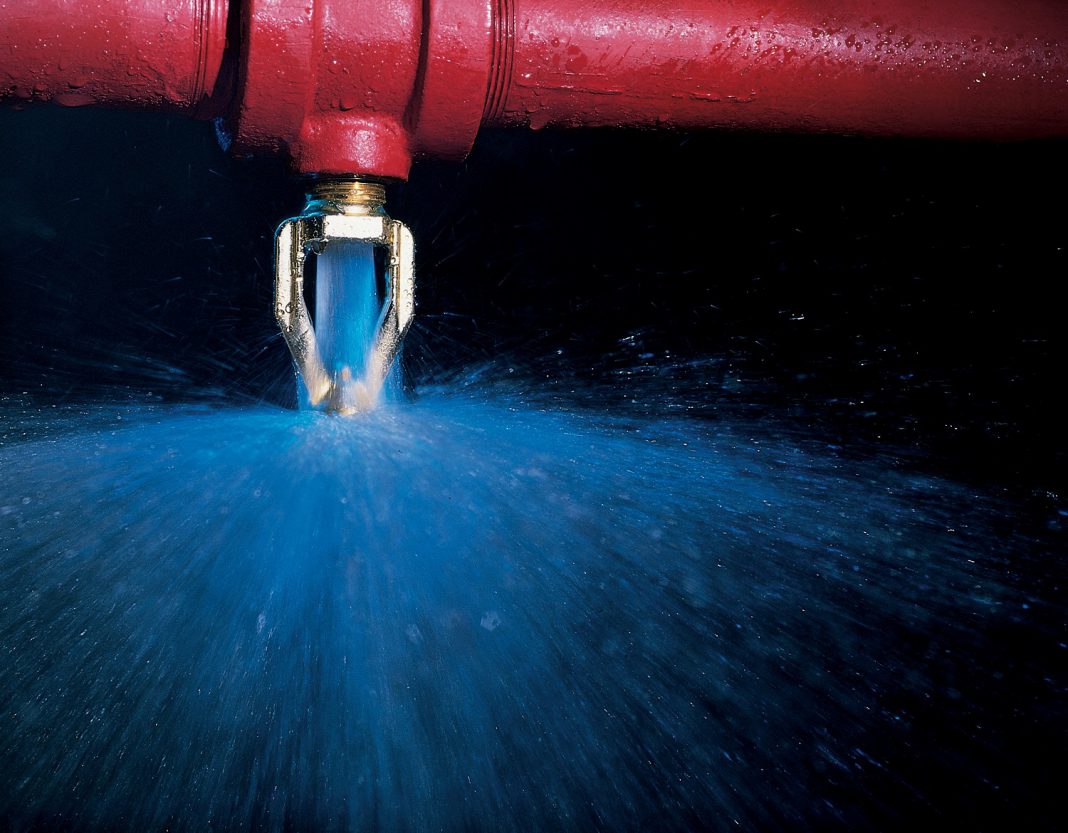
Sprinkler is a type of sprinkler head that spreads water evenly over the fire area, each different type of nozzle is designed to work at each operating threshold and the type of nozzle according to the type of structure of the nozzle body. There are many types of nozzles, but most are still based on the following components:
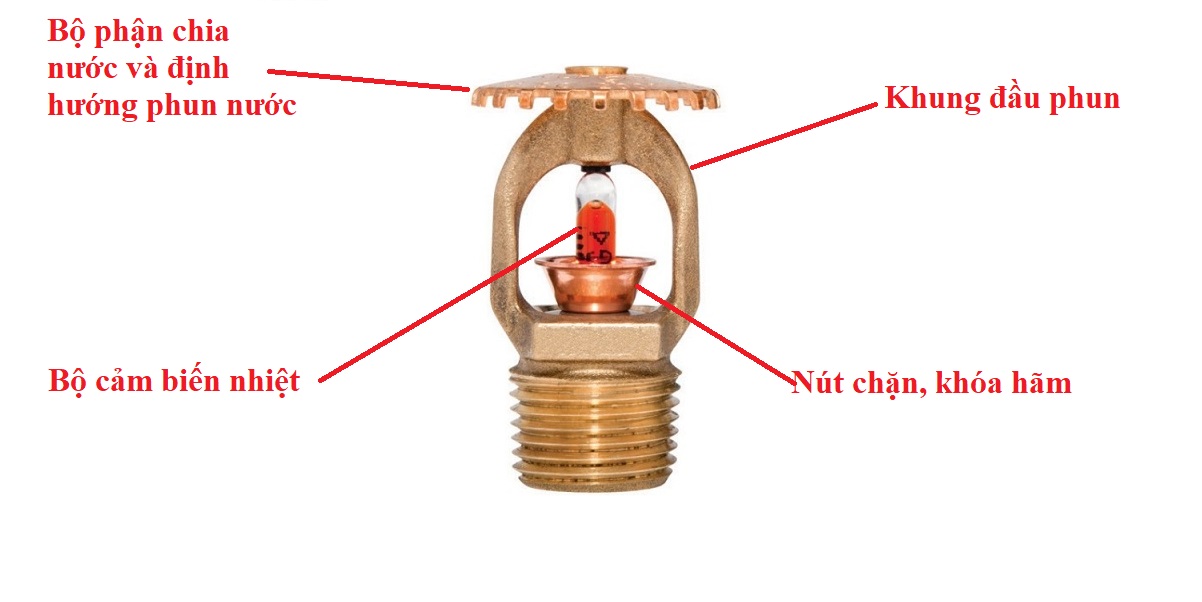
– Body: Creates a structure for the nozzle, subject to water pressure in the ejection pipe. The body will hold the heat sensor and stopper to seal the water, supporting the sprinkler guide plate. Constructed of brass or chrome-plated steel to prevent rust.
– Heat sensor: It is a temperature control component for water injection. At normal temperature, the sensor will block the stopper to seal the water, when the high temperature reaches the operating threshold, the sensor will release and drop the stopper.
– Stopper: Used to block and seal to prevent water from leaking out, blocked by the heat sensor to prevent water from spraying out. When the sensor works (broken or broken …) the stopper will fall off and the water in the pipe will spray out.
– Guide plate: Mounted on the nozzle bar opposite the stopper where the water will spray out. The task of the guide plate is to evenly distribute the spray water and spread it over the surface of the fire fighting area. The guide plate determines the mounting pattern of the nozzle by the direction and angle of the spray.
Things to note before installing Sprinkler sprinklers
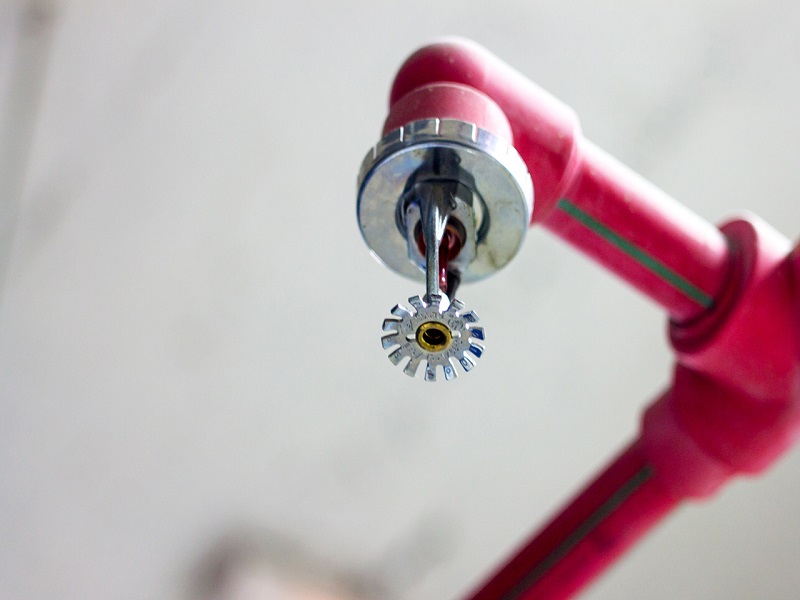
Installing the correct sprinkler head makes the fire extinguishing process more effective. When installing Sprinkler nozzles, care must be taken and the instructions below are followed to ensure that the Sprinkler is not damaged and functions properly. The following should be noted:
- The nozzle should not be stored and stored in a place with high temperature, direct sunlight may lead to premature activation.
- Do not bring the Sprinkler from the carton to the bag, bucket or basin before installation, it may damage the sprinkler, it is best to take the Sprinkler directly from the carton box when installing.
- If the Sprinkler nozzle shows signs of damage, it should be checked and replaced immediately.
- A standard sprinkler must have small air bubbles in the glass tube, bubble diameter from 1.6 mm (for 57°C nozzles) to 2.4 mm (for 141°C nozzles).
- It is also important that before installing the Sprinkler to determine the correct model, nozzle type, K-factor, temperature as well as response characteristics, coverage…
- Need to comply with NFPA 13 standard for Sprinkler installation, Sprinkler nozzle temperature selection according to ceiling temperature below installation.
How to install Sprinkler nozzles 100% correctly
Below, P69 Company will share with you how to properly install Sprinkler nozzles with Sprinkler nozzles without cap and with lid:
For Sprinkler head without cap
Step 1: First you need to determine the correct Sprinkler nozzle according to the installation location. Example: The upward type sprinkler is intended for upward installation and vice versa.
Step 2 – If done correctly, use young rubber to wrap around the threads of the sprinkler and then install the sprinkler yourself into the pipe.
Step 3: Finally, use a 6W wrench to tighten the sprinkler head into the pipe, avoiding excessive force from 9.5 Nm to 19.0 Nm for DN15 nozzles and DN13.4 to 26.8 Nm for DN20 nozzles.
For Sprinkler with cap
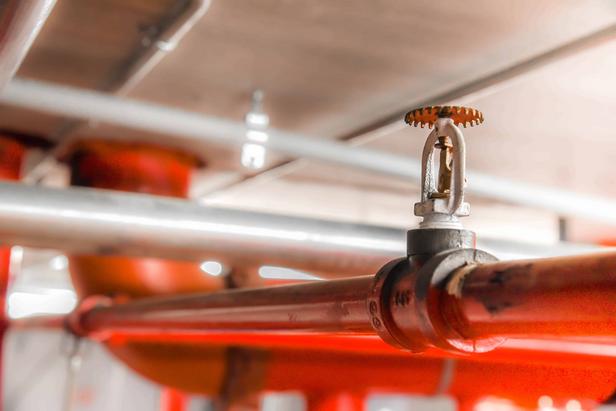
Step 1: After taking the Sprinkler nozzle out of the carton, you install the cap on the Sprinkler nozzle, use young rubber around the Sprinkler thread, then use your hand to attach the Sprinkler with the cap to the pipe.
Step 2: Then, use a 7 W wrench to tighten the nozzle to the pipe, avoiding excessive force, from 9.5 to 19.0 Nm for DN15 injector and from 13.4 to 26.8 Nm for injector DN20.
Step 3: Now slide (push) the hood (outer layer-for double-caps) until the edge of the hood is close to the ceiling.
How to check and maintain Sprinkler nozzles
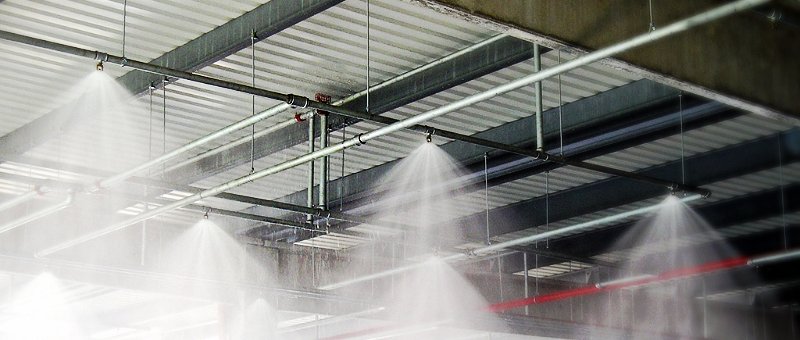
Sprinkler sprinklers after a period of 6 months should be checked and maintained once to ensure fire safety for the building. Things to do when maintaining Sprinkler sprinklers are as follows:
- Check sprinkler nozzles, sprinkler heads need to be replaced for signs of corrosion or leaks.
- Sprinkler nozzles have not been painted, plated, coated or otherwise modified since manufacture.
- Sprinkler nozzles do not work after a fire, they need to be replaced.
- Periodically check sprinklers for corrosion to ensure sprinkler integrity in the installation environment.
Sprinkler system maintenance steps
The main parts that need to be maintained and maintained in the sprinkler automatic fire fighting system such as sprinklers, valves, water pipes, pump control cabinets, fire pumps. The most important component is the Sprinkler nozzle. The nozzle can be corroded by the water source resulting in a leak. Or clogged due to calcium deposits leading to inactivity. Therefore, sprinkler system as well as other water equipment should be regularly checked and maintained periodically. To make the system work better and more stable. Maintenance and cleaning steps for automatic sprinkler system:
1. Remove the Sprinkler from the automatic fire extinguishing system
Before removing the sprinkler from the automatic fire extinguishing system, the water supply pipe must be checked to see if there is still water in the pipe. If it is, drain it to get rid of the water and then remove it.
Remove the Sprinkler nozzle from the system, remove all excess water in the connector from the main pipe and nozzle (do not let water on the floor, the device uses a bucket to collect excess water)
2. Clean, check the status of Sprinkler nozzles
Sprinkler nozzle includes details: nozzle body, stopper, heat sensor, guide plate
Remove the details, proceed to clean the details of the Sprinkler nozzle.
Replace sprinkler heads that show signs of irreparable damage
3. Descaling in water supply pipes
Pipes containing fire fighting water due to long-term inactivity can be scaled and corroded. It should be checked and treated periodically. Need to follow these steps:
Remove the Sprinkler nozzle from the system, clean the threaded position. Seal the head where the nozzle has just been removed, with a threaded seal.
Then, pump clean water with calcium descaling chemicals back into the pipeline. Pump up to 1/2 the main pipe, soak for 30 – 60 minutes. Then drain all the solution water (following the procedure above).
Drain the old water in the pipe and replace it with new water
Check the working condition of the pipeline for leaks. Fix leaks and repaint fire hoses if necessary.
4. Maintenance of valve system, fire pump control system
Check the entire valve system. Check the control equipment in the pump control cabinet (such as aptomat, magnetic starter, meter). Check the operation status of pressure switch, flow switch. (device that helps the fire fighting system operate automatically when pressure drop or flow occurs)
Check the tightness of the water valve, replace the seal if necessary, test the water. Clean the valve system.
Maintain, repair, and replace equipment if not working properly.
5. Maintenance and maintenance of fire pumps
Check all caps, screws fastening parts, connections, details, electrical wires.
Check the engine cooling water, check the fuel level (for the pump using the detonator) lubricating oil to ensure enough, no leakage.
Check the electrical system in the pump room. Check the battery used for the starting system of the backup pump engine
Start the pump, check the watertightness of the ejector. Check the operation status of the water pump slug, electric motor, and explosive head motor.
Check the suction head specifically the suction basket for good water retention.
Maintenance, repair and replacement of damaged parts if necessary.
Repaint the fire pump if rusted with specialized paint.
Contact us today for a free consultation and answer at:
Contact information P69 – M&E . M&E Contractor
Address: No. 6/165C Xuan Thuy, Cau Giay District, Hanoi
Website: https://p69.com.vn/
Hotline: 02437688156 – 0965937799
Email: kd@cokhip69.com.vn
Facebook: https://www.facebook.com/p69nhathaucodien
LinkedIn: https://www.linkedin.com/in/congtyp69/
Youtube : https://www.youtube.com/channel/UCOUwCnE5iGj8iqe_ZIUM7oA

