The pressure test of the water supply pipe according to the standard is a very important step in plumbing works, it ensures safety and longevity when using the system. The acceptance of the internal water supply system and the hot water supply system shall be conducted only after the pipe pressure test results are available. Let’s find out with P69 Company the pressure test process of water supply pipes in the following article.
General requirements in water pipe pressure testing

– The length of the test section is from 500m to 1500m. The test piece for the installation of water pipes must be complete, including supports and valve holes, and concrete and mortar must be as designed.
– Test pressure = 1.5 times the maximum working pressure Ptest = 1.5Pw.
– Pipes must be cleaned and checked before pressure test water is pumped.
Scope of application of water supply pipe pressure test procedure
Includes pipes and fittings. These piping systems include:
1. uPVC pipe system.
2. HDPE pipe system.
3. PP-R pipe system.
4. The mixed pipe system has many different types of plastic pipes.
These piping systems have been fully installed and the system tested after the installation is complete to confirm:
– Check the pressure resistance of the pipe system.
– Check the tightness of the connections in the system.
Preparation for pressure test of water pipes

– The inspection of openings, repair of gaskets and joints when the test pressure drops below a dangerous level (2kg/cm2).
– Pressure test equipment and objects:
+ 02 centrifugal pumps with a capacity of 60-100m3/h.
+ 01 piston pressure test pump can increase 12kg/cm2.
+ Quantitative tank containing 200-500 liters.
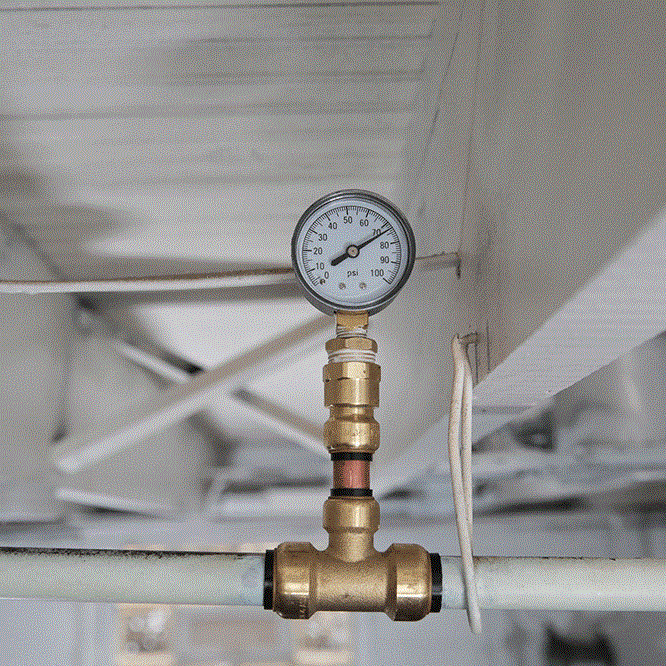
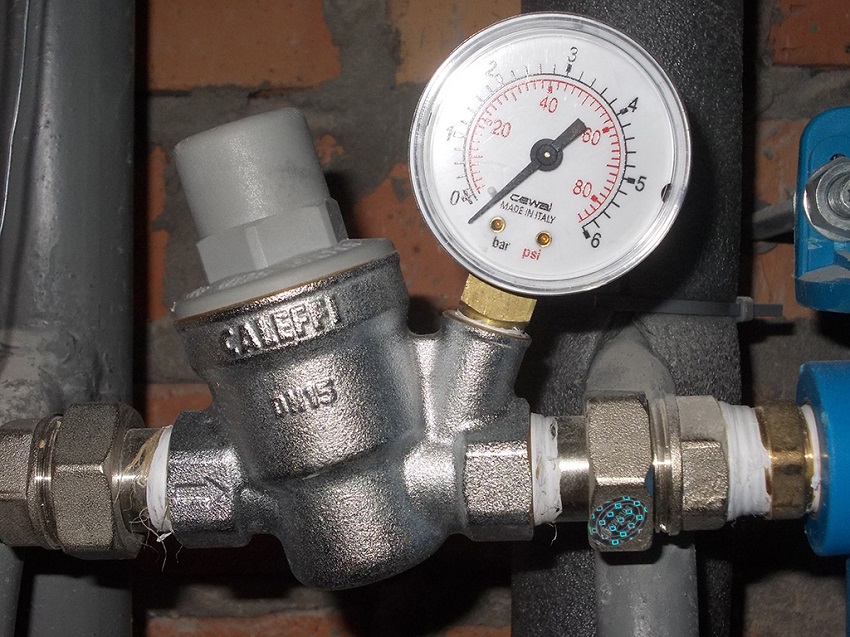
+ 02 pressure gauges are tested.
+ 02 solid flanges + DN high gasket (1500-1800).
+ 06 sizes of 100T, 70 blocks of concrete 2x1x1 as potential pits (each end of 35 blocks can test pressure up to 9kg/cm2), 02 steel blades of size 5x5m, 2.5cm thick with reinforced ribbed box and many other materials such as: : steel buffer, sand sack, zinc pipe, ….
Steps to conduct water pipe pressure test
Depending on the working pipe, conduct pressure test in different test modes: 2-4-6kg/cm2, 3-6-9 kg/cm2. The principle of testing and the test procedure are the same. Please introduce the pressure test procedure in the mode of 3-6-9kg/cm2 pipe with diameter DN 1600mm.
+ Install equipment accessories before putting into pressure test.
+ Install steel bolts and flanges to seal the end of the pipe, test the pressure between the bolt and the pipe 9kg/cm2.
+ Dig a pit to place the counter-pressure concrete block, install the loading wing, and place 03 hydraulic jacks on the steel wing (02 heads and 6 jacks).
+ Finishing the working floor, compacting the pit, increasing the jack, installing the air release valve, pressure gauge.

The test steps are as follows:
– Step 1: Check all pressure test systems and pipelines.
– Step 2: Pump water into the pipeline and soak for 24 hours so that the gaskets expand, the pumped water must be clean, during the soaking process must regularly discharge air and pump additionally.
– Step 3: Boost pressure up to 3kg/cm2, when turbocharger must regularly discharge gas to increase jack, check pressure gauge, check potential pit … to pressure 3kg/cm2 for 30 minutes, monitor the clock if copper If the lake does not decrease or decreases by less than 0.2kg/cm2, then step 4, if more than 0.2, return to step 1.
– Step 4: Increase the pressure to 6kg/cm2 when the pressure reaches a stable 6kg/cm2, then stop the pump, during this period the pressure can be reduced due to thermal expansion and must be pumped additionally or kept according to actual monitoring. Leave on pressure for 2 hours. The amount of water to compensate should not be more than the amount of water calculated according to the formula below.
– Step 5: Increase the pressure to 9kg/cm2 to keep this pressure within 30 minutes. After 30 minutes, if the pressure is only reduced by no more than 0.5kg/cm2, it is considered to be passed and continues to step 6. If not, return to step 1.
– Step 6: Reduce the pressure from 9kg/cm2 to 6kg/cm2 and let the pressure stay for 02 hours if the pressure does not decrease or decrease less than 0.2kg/cm2, then lower the pressure completely if it decreases a lot then go back to step 5.
– Step 7: Drain the water from the pipe, remove the pressure testing equipment and tools.
Technical instructions for pressure testing of water supply pipes
Testing of hydraulic or pneumatic cold and hot water supply systems is carried out prior to installation of the water intake devices. As follows:
– When testing with water: The test pressure is equal to the working pressure plus 5 daN/cm2 but not more than 10 daN/cm2 , the test time is 10 minutes, during which time the test pressure drops not more than 0.5 daN /cm 2 .
– Also can be tested by pneumatic pressure, test sequence as follows: Use test pressure 1.5 daN/cm 2 to detect defects. After correcting the defects, continue testing with a pneumatic pressure of 1 daN/cm 2 , in 5 minutes the pressure should not decrease more than 0.1 daN/cm 2 .
Experience in pressure testing of water and hot water supply pipes

In case of water pressure test (hydraulic), when the design does not specify the test pressure (to add 5 daN/cm 2 ), depending on the situation you can test with a maximum pressure of 10 daN/cm 2 .
The maximum pressure test time should not exceed 10 minutes (for water) or 5 minutes (for compressed air). Because if you pass this time, it is invisible that your pressure test has reduced the life of the pipeline before it is put into use.
Contact us today for a free consultation and answer at:
Contact information P69 – M&E Contractor
Address: No. 6/165C Xuan Thuy, Cau Giay District, Hanoi
Website: https://p69.com.vn/
Hotline: 02437688156 – 0965937799
Email: kd@cokhip69.com.vn
Facebook: https://www.facebook.com/p69nhathaucodien
LinkedIn: https://www.linkedin.com/in/congtyp69/
Youtube : https://www.youtube.com/channel/UCOUwCnE5iGj8iqe_ZIUM7oA

