The installation of a cold water meter looks simple, but in fact, this work requires meticulousness and high accuracy. The installation of the meter cannot be done through speakers, because it will affect the readings as well as the life of the water meter. Through this P69 Joint Stock Company will share some experience on how to install cold water meter that we draw from long-term working experience along with techniques, installation tips to shorten working time but still ensure the highest efficiency, learn together below!
Some features of the cold water meter
– Cold water meter size from DN15 – DN50
– Dry pole counter (magnetic coupling with hydraulic unit without gears immersed in water).
– Protection against magnetic fields exceeding EN14154-3 requirements.
– There is no need to add straight sections before and after the water meter in the case of water meter installations with the use of standard connectors.
– Brass cold water meter.
– Low starting threshold.

Advantages of cold water meter
– Low cost of use
– Tested in production
– Better accuracy of conventional types
– High durability thanks to production from the latest materials with high resistance to friction; the use of polypropylene to create a impeller can obtain greater flexibility and greater resistance to the influence of significant flow strength on the blades.
– Very good mechanical and anti-corrosion properties of the coating (epoxide powder coating). The comfort of use and assembly in water supply systems (using standard connectors – half union).
How to identify cold water meter
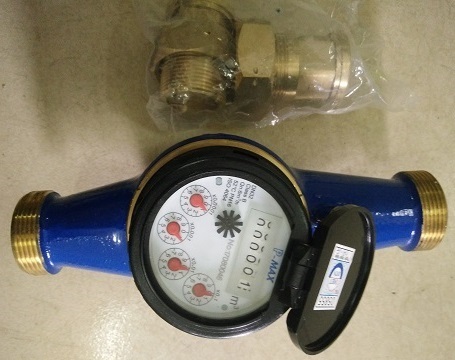
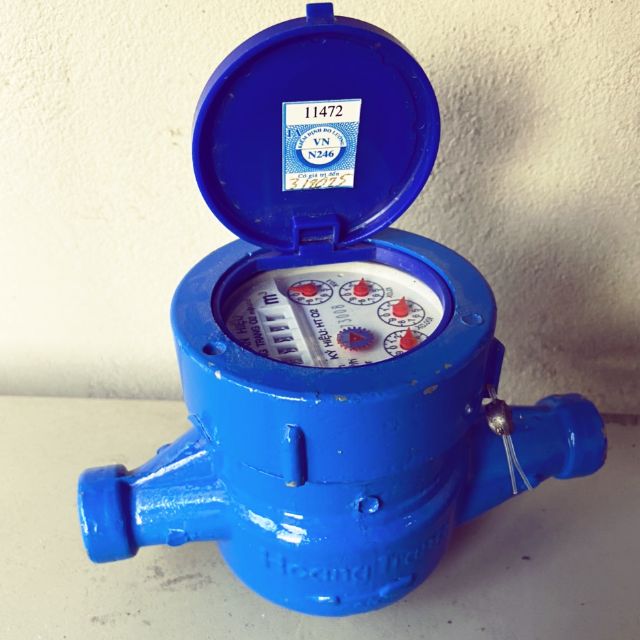
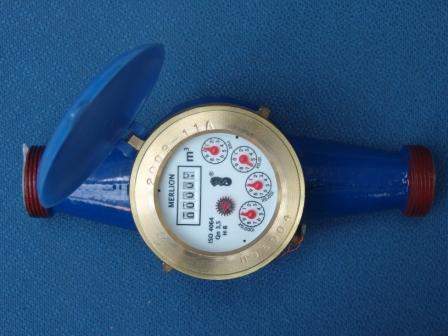
Cold water flow meter is easy to identify is the exterior is painted green, blue, or other colors other than red.
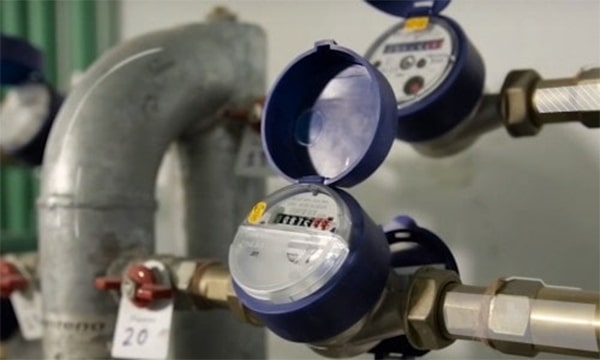
Cold water meters are often used with water supply plants, for apartments and households with clean water supply systems.
Cold water meter, usually measures low water temperature in the range of 30 – 50 degrees Celsius. If the temperature is too high, it can damage the water meter.

Steps to install a standard cold water meter
Hopefully, through this article, you can better understand how to install a water meter and the necessary notes when installing a water meter. The steps for installation of chill water meter include:
1. Step 1: Clean the pipe
Clean the contact surface of the pipe with the water meter. Clean pipes and joints to remove foreign objects in pipes. You should clean carefully because this will affect the water supply process through the meter. Make sure the water source does not contain solids such as sand, mud, and cement. For water systems containing solid impurities, it is recommended that a filter be installed on the front of the meter.
2. Step 2: Determine how to install and mount the water meter
- Water meter installation requirements: Water meters installed vertically or tilted are not in accordance with the technical process. The water meter must be installed horizontally. In front of the water meter, the water inlet must be 10D from the pipe diameter, and behind the water meter, the water outlet should be 5D from the pipe diameter.
- Water meter mounting position: Horizontally mounted. The dial of the watch should face up for easy viewing. Do not install the water meter in a location with strong electromagnetic and electric fields.
- The front and rear pipes of the clock must be straight in the direction of the clock.
- Install in the direction of flow
On the body of the water meter, there is always an arrow noting the direction of the fluid flow. The flow direction must match the direction of the arrow on the body of the water meter. If the water meter is installed against the flow in the pipeline, the meter will not work.
In the direction of water flow, the order of priority is as follows: Gate valve – water meter – one-way valve.
Install in the direction of the arrow, 90 degrees perpendicular to the ground, the center of the axis of the water meter is pointing straight up. The joints must be tight, and ensure no water leakage.
3. Step 3: Install cold water meter
For mechanical water meters, there are two common types: threaded water meters and flanged water meters.
3.1. Install threaded cold water meter
Normally, threaded hot water meter is water meter with size smaller than DN50. Shrink connection type. This type is commonly used in small and residential projects.
Step 1: After cleaning the pipe, wrap the young tape around the thread of the meter. Wrap firmly to ensure no leaks.
Step 2: Put the meter on the pipe. The installation direction is in the direction of the embossed arrow on the body. Do not install it in reverse as this will cause the water meter to not work.
Step 3: Install a rubber gasket between the contact surface of the pipe and the meter. Use a wrench or wrench to tighten the connection between the water meter and the water pipe.
Step 4: After the installation is complete, you test to see if the meter works, has no leakage or not. If leaks are found, recheck the connections. If it does not work, check the direction of the water meter. If the clock runs, works, you can put it to use.

3.2. Install flange cold water meter
Flange hot water meters are usually sized from DN50 and up. This type of clock is often used for large projects. With this water meter, we must have an additional set of 2 flanges with the same size of the pipe. For example, phi 80 pipe, phi 80 meters, phi 80 flange and phi 80 rubber gasket. Then proceed to install the pipe so that the water enters the meter in the direction of the arrow.
Step 1: Put up the pipe flange and connect to the meter. From there, it helps to fix the flange connection holes with the meter.
Step 2: Perform spot welding to fix the flange. However, it should not be sealed. When sealing while the water meter is being installed, it will result in failure of the meter due to the heat-generating solder joint.
Step 3: Put down the watch and start to do pull welding, sealing. Make sure the connection is not open or leaking when in use. After the welds have cooled, clean the weld and surrounding dirt. Thread the bolts and nuts to tighten the watch. Do not forget the sealing gasket between the flange and the meter.
Step 4: Use wrenches, wrenches to tighten the joints. Pay attention to tighten the screws symmetrically and evenly. Avoid connection buckling that will leak. At the weld position, it is recommended to apply a layer of anti-rust paint to prevent the welds from rusting, leading to damage over time. After installation is complete, test the operation of the water meter before putting it into use.
What types of hot and cold water meters are there?
For hot and cold water meter models, it is the same as other common types of water meters, including mechanical and electronic hot and cold water meters. Types of water meters
For mechanical counters, the moving propeller rotates the gears inside the counter. As for the electronic water meter with an accurate LCD display, the number displayed on the meter makes it easy for users to observe.
In addition, there is another way to distinguish that is by the way of connection: there is a threaded connection and a flange connection.
=> Refer now: How to Install Hot water mater for apartments

Contact us today for a free consultation and answer at:
Contact information P69 – M&E Contractor
Address: No. 6/165C Xuan Thuy, Cau Giay District, Hanoi
Website: https://p69.com.vn/
Hotline: 02437688156 – 0965937799
Email: kd@cokhip69.com.vn
Facebook: https://www.facebook.com/p69nhathaucodien
LinkedIn: https://www.linkedin.com/in/congtyp69/
Youtube : https://www.youtube.com/channel/UCOUwCnE5iGj8iqe_ZIUM7oA

